
How to Adjust Garage Door Sensors? If your garage door is not closing properly, the garage door sensor is most likely to blame. The garage door sensor is comprised of two visible sensors located approximately 6 inches from the floor. They use a laser to connect the sender to the receiver. If the laser beam is obstructed or the sensor fails, the garage door will not close completely. If this is happening to you, we have created a 7-step checklist for adjusting garage door sensors.
Check the signal to see whether it is not connected to the circuit board. When dealing with a sensor problem, keep an eye out for one or more of these indicators. If the garage door only slides an inch or two downward, OR the head unit blinks and produces a clicking noise, OR the lights on the sensors are off, flashing, or flickering. These symptoms are caused by the signal from the sensors not connecting to the head unit’s circuit board.
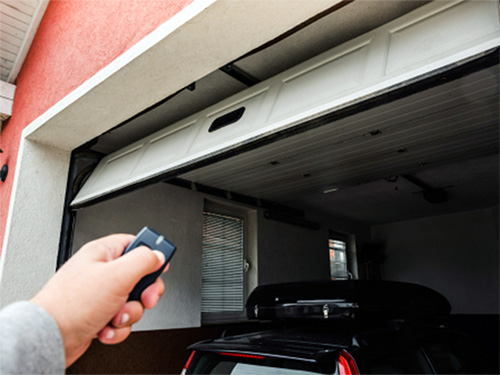
While diagnosing and repairing the safety sensors, the garage door is closed.
NOTE: If you need to close the door for security reasons until the problem is resolved, simply pull the red safety rope to release the door from the operator and manually close the door. You may also be able to close the door by holding down the wall console button and then releasing it just as the door closes (this requires some timing).
How to Adjust Garage Door Sensors?
Check to determine if any of the following are true: the sensors are misaligned, an object is in the path of the infrared beam, or the cables are broken or corroded.
- One of the first things to check is that there is nothing in the way of the invisible sensor beam. Look from left to right along a straight line between the sensors, and move anything that may be in the way, such as garden equipment, tools, boxes, and so on.
- Next, inspect the sensor lenses and clear away dust and cobwebs as needed with a paper towel or soft cloth.
- Check that the sensors are correctly pointing at each other by eyeballing the path and adjusting or redirecting as necessary. Even if the LED lights are lighted on both sides, sensors may require minor adjustments. When the sensor is barely beyond the margin of error, it will display a little flicker that is not noticeable while standing. The butterfly nut can be adjusted by loosening it, redirecting it, and then re-tightening it securely.
- Measure both sides from the ground to the garage door safety sensor and ensure they are the same height. Also, measure from the track’s connection to the wall and ensure that the distance is the same.
- Check that the vertical track is securely fixed to the wall and is not unstable. A sagging garage door track might also cause the sensors to vibrate or shift slightly during door operation.
- Corroded wiring, cables chewed by animals, improperly connected wires, or wires not linked to the above-mentioned head unit can all be the source of the problem.
- A malfunction in the circuit board or sensors as a result of a power surge, water damage, or another failure could also be an allusive issue. If you are still experiencing problems after following the methods outlined above, outright failure is a possibility. This could necessitate the replacement of both safety sensors as well as the circuit board from the head unit.
Also Read: How to Fix Garage Door Cable?